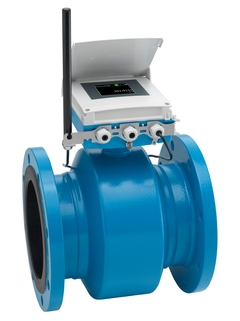
Promag W800 is a connected asset from Endress+Hauser. It has the capacity to connect directly to the Netilion Cloud Platform. This article describes how to put a Promag W800 into operation.
Mounting the device
Please see here.
Configure the device
You can use the SmartBlue App to configure your device.
For Apple smartphones, download the App here.

For Android smartphones, download the App here

Installation
- Creating a new Asset
- Login to Netilion Value with either your computer or handheld device (internet access required)
- Click on All Objects in the navigation bar at the top of the screen
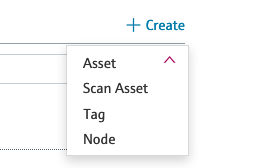
- Select Create at the top-right corner of the screen (or + on a mobile device):

- Select “Asset”
Please enter the following data into the Create Asset form:
Manufacturer: Endress+Hauser
Serial Number: The serial number printed on the back of the device
The following fields are filled out automatically once you entered the manufacturer and the serial number:
| Product Code: | Filled out automatically |
| Product Name: | Filled out automatically |
Optionally, you can enter the following data into the remaining fields:
| Description: | Your description text (free text) |
| Production date: | If you know the exact production date of your device, you can enter it here. Otherwise, just leave this field empty and it will be calculated automatically out of the serial number after proceeding to the next step |
Connectivity settings:
| Transmission interval: | Select the time interval the device should transmit the measurements to the Netilion cloud (default: every 24h) |
Please note that the two intervals above have an influence on the device’s battery life: The more frequent measurements are taken and transmitted, the faster the battery will drain.
To confirm the entered data, please click on the “Save and create Tag” button.
Creating a new Tag
The next step is to create a new (or assign an existing) tag which represents the measurement point of your device.
Please fill out the fields in the following form:
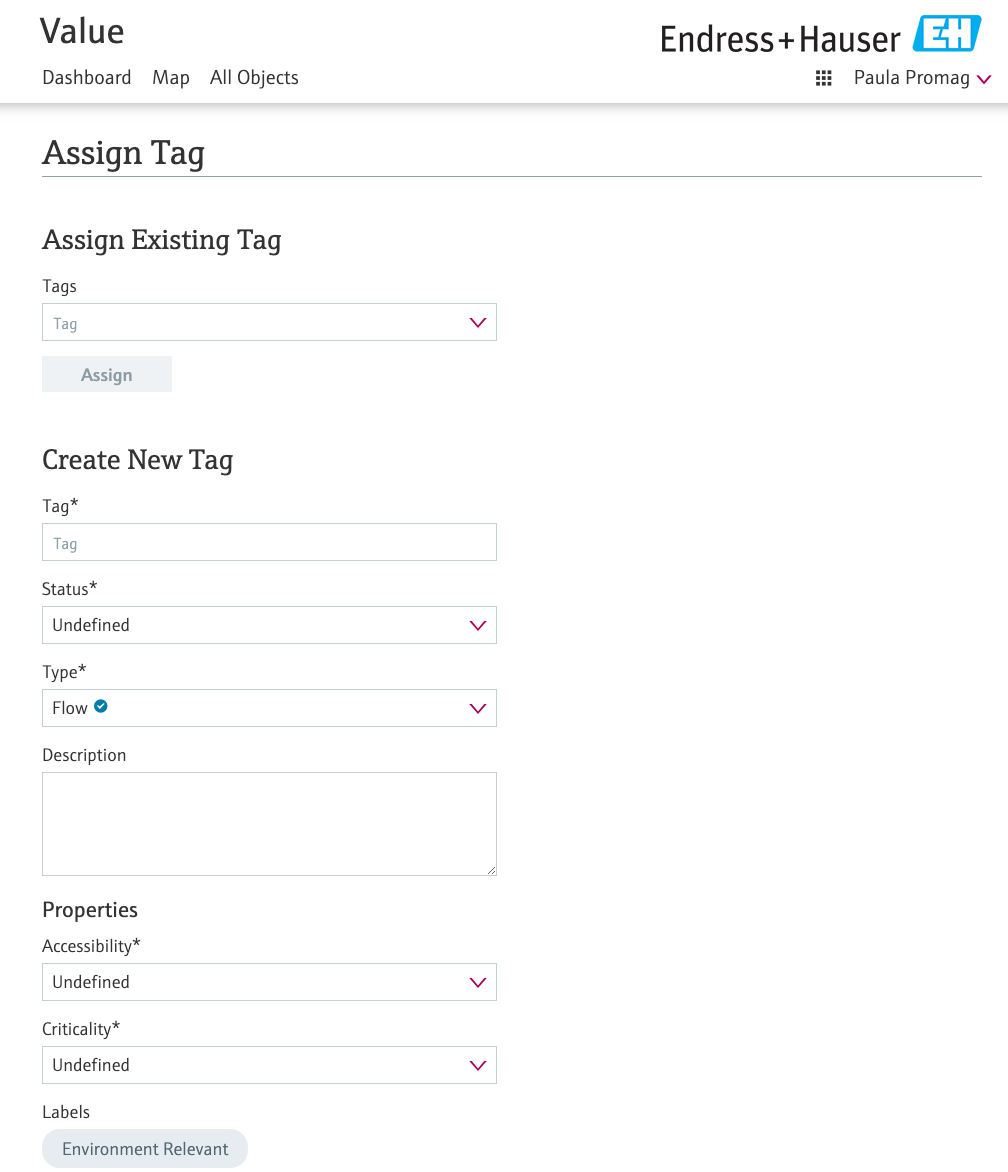
| Tag: | The name of your measurement point (free text) |
| Status: | The status of your measurement point (can be either “Active”, “Inactive” or “Undefined”. Set this to “Active” if your measurement point is used in a productive environment |
| Type: | Filled out automatically (“Flow”) |
| Description: | Your description text (free text) |
Properties:
| Accessibility: | The complexity to physically reach the measurement point (Easy, Moderate, Difficult or Undefined) |
| Criticality: | How critical the measurement point is for your application (Low, Medium, High, Undefined) |
| Labels: | Click on the labels that apply for your measurement point to be able to find it easier by using filters later on |
Please confirm your entered data by clicking on the “Save” button.
Finishing the installation
After clicking on the “Save” button in the previous step, you have to restart the device by SmartBlue App or by reconnecting the batteries. After a few moments, you can see the first measured values in the asset detail screen.